CyberLink PowerDirector Help
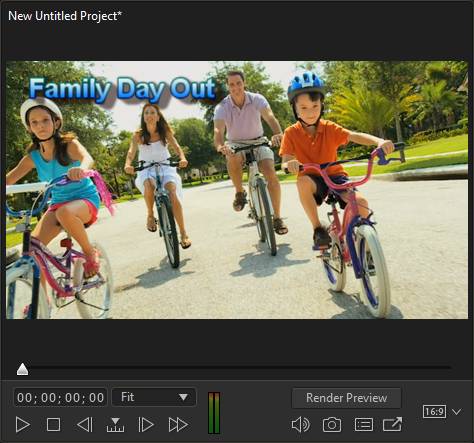
The project preview window lets you preview clips in the media library (when the library preview window is not enabled), and your video editing project as you edit it in the timeline.
When previewing your video project on the timeline, by default PowerDirector switches to movie mode and previews the video from the current timeline slider position to the end of the project. If you want to only preview a selected clip, turn off the Switch to movie mode automatically during playback option in Editing Preferences.
Note: you can also use range selection to only preview a selected range of your video project. |
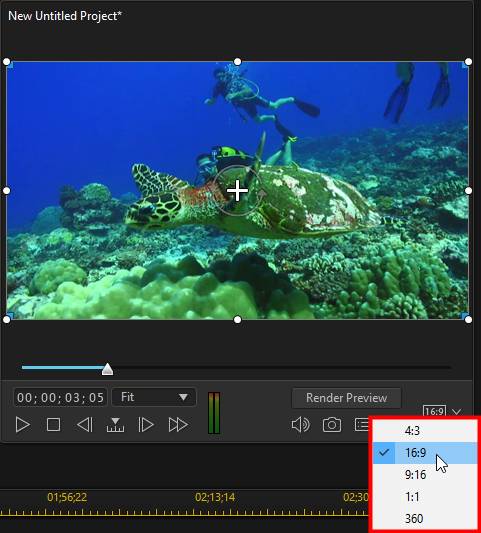
Just select a clip on the timeline to switch to clip mode. When viewing media in clip mode, the cross hairs and grid lines/TV safe zone (if enabled) are visible to help with the placement of the selected clip in the video display area. When in movie mode, these items are hidden.
Note: press the Page Down key on your keyboard to manually switch to movie mode. |
Zoom in/Out Controls
When you place media on the timeline, use the Fit* drop-down underneath the project preview window to zoom in or out on the video. Zooming in is useful for precise placement of media, while zooming out lets you add media that begins or expands off screen.
Timeline Preview Volume Meter
Click the  and then select Show Preview Volume Meter* (or select Show Timeline Preview Volume Meter* from the View menu) to view the audio levels in your video project in the project preview window.
Project Aspect Ratio
The aspect ratio for your project can be changed at any time by selecting 4:3, 16:9, 9:16*, 1:1*, or 360* from the aspect ratio drop-down located below the project preview window. For more information see Setting Project Aspect Ratio.
Render Preview
If when previewing your project the playback is not smooth, try clicking the Render Preview* button to have CyberLink PowerDirector render a video preview of your project from the current timeline slider position to the end of the project.
Note: if you only want to render a portion of the timeline for preview, you can select a range of your project in the timeline and then click the Render Preview button. |
The rendered preview will be indicated by a green line on the timeline and provides a smoother preview during the playback of that range/section of your video project.
Note: * optional feature in CyberLink PowerDirector. Check the version table on our web site for detailed versioning information. |