CyberLink PowerDirector Help
Depending on whether you are adding a mask to an image or a video file, you have a choice as to what you can do.
•Using the Auto Object Selection Tool to Add an Image Mask
•Manually Creating a Mask Using the Available Brush Tools
Using the Auto Object Selection Tool to Add an Image Mask
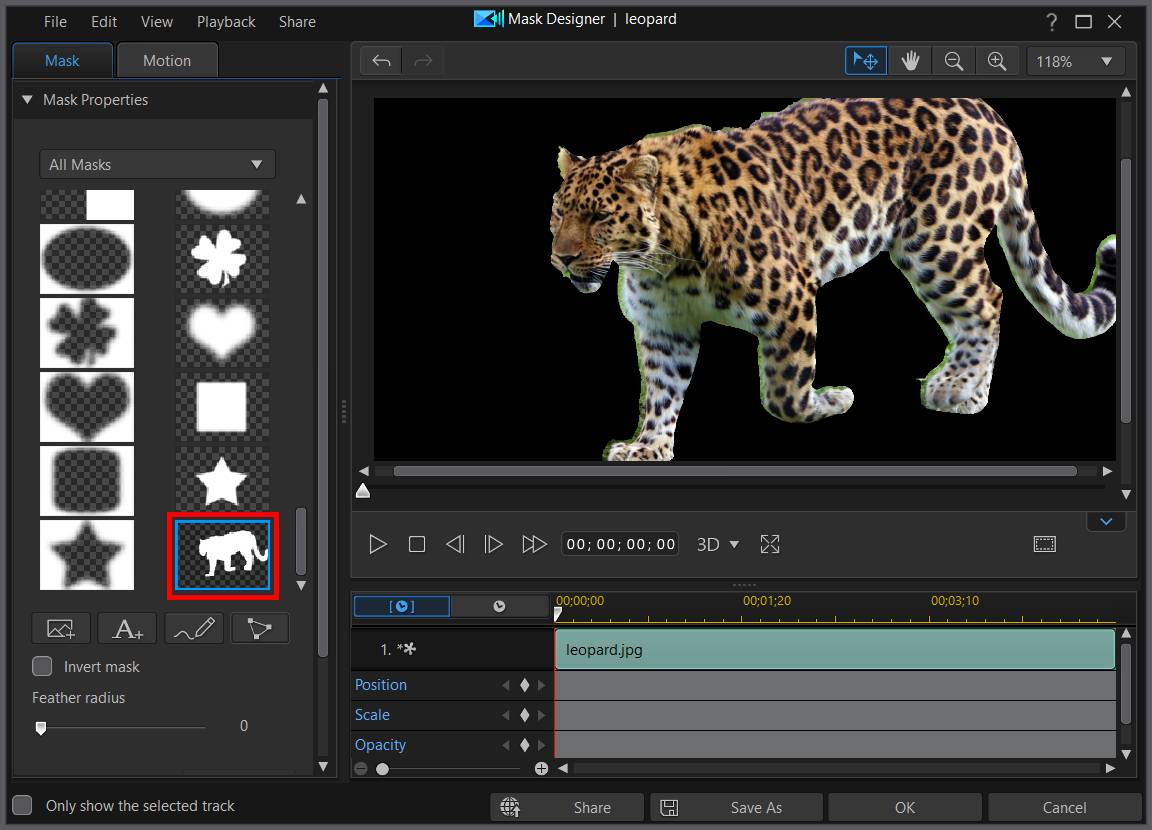
If you are adding a mask on an image, you can use the auto object selection tool to automatically select a primary object in the image. To use the auto object selection tool, do this:
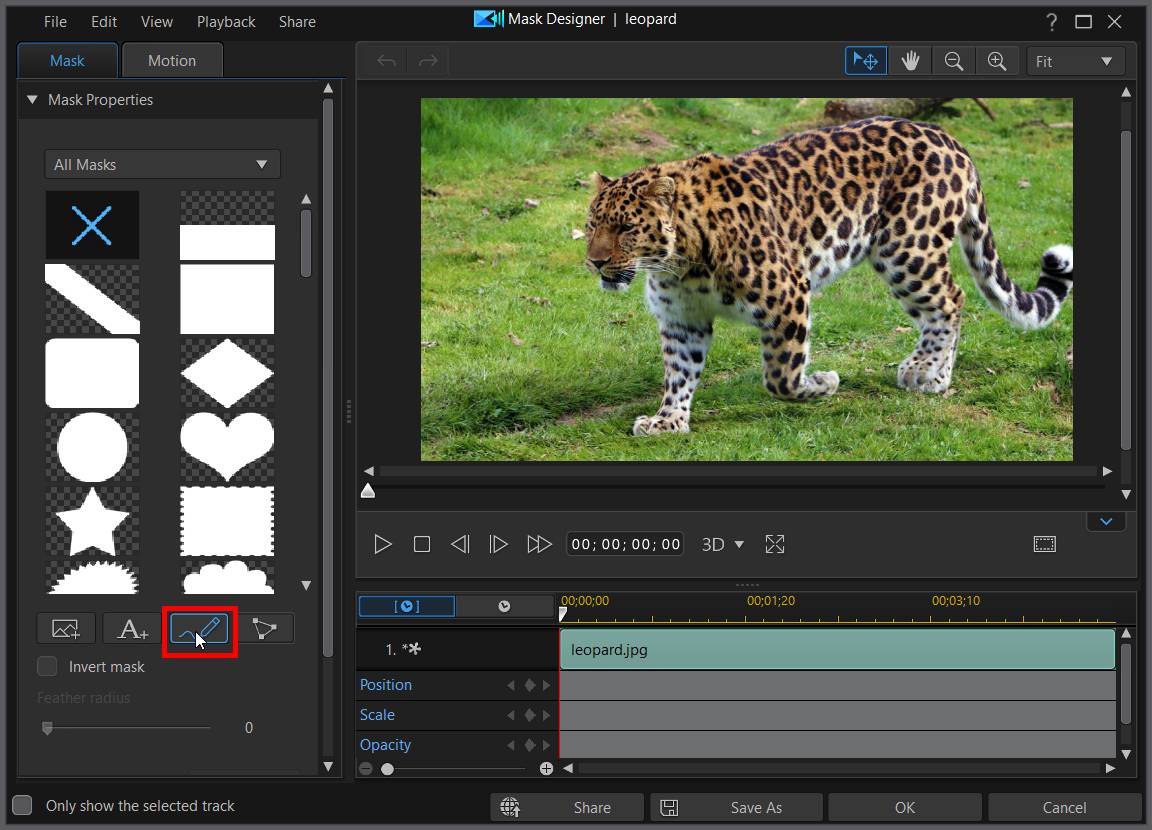
1.Select an image on the timeline and then select Tools > Mask Designer.
2.Click on the  button in the Mask Properties section of the Mask tab.
3.In the Brush Mask Designer, click the  button*.
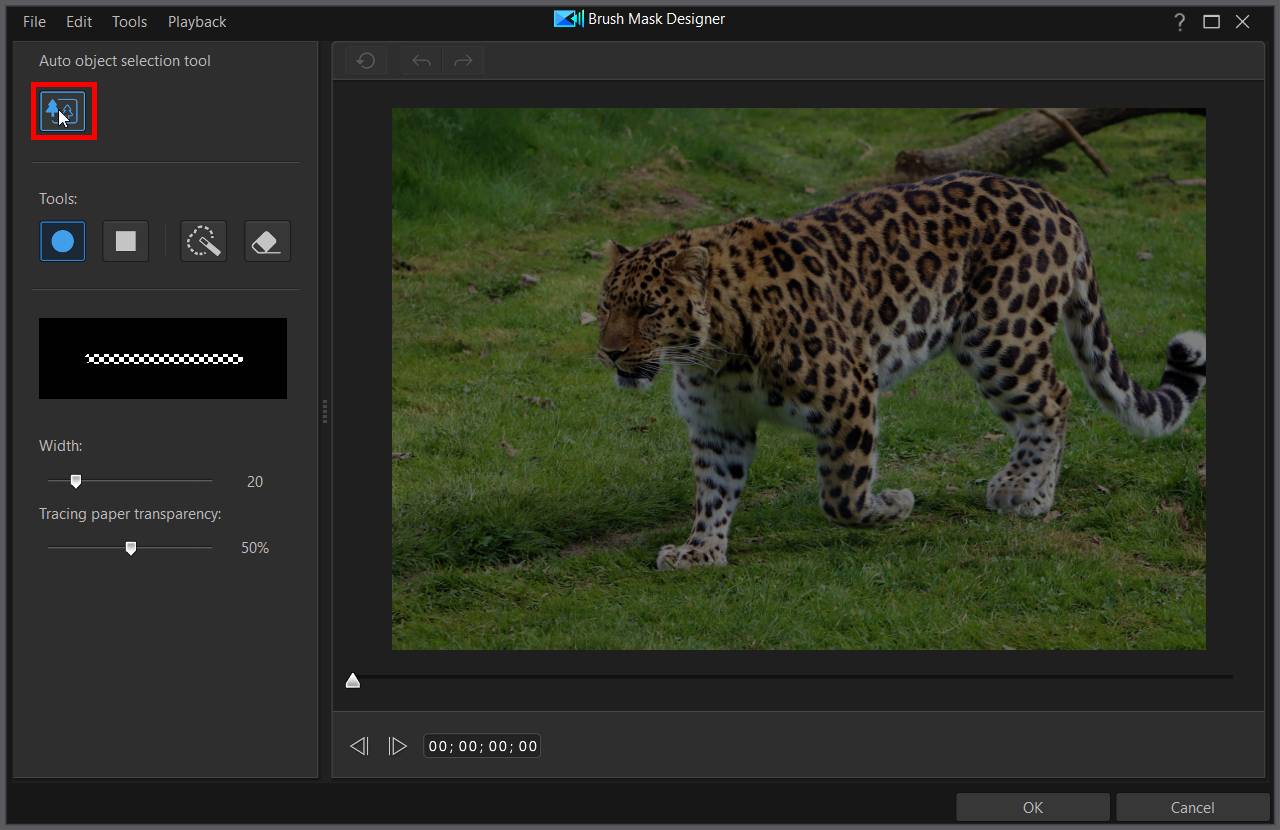
Note: * this feature is currently only available in the subscription version of CyberLink PowerDirector, and requires Windows 10 and a CPU that supports the AVX2 instruction set. See this FAQ for detailed requirement information. |
4.The object will be auto detected.
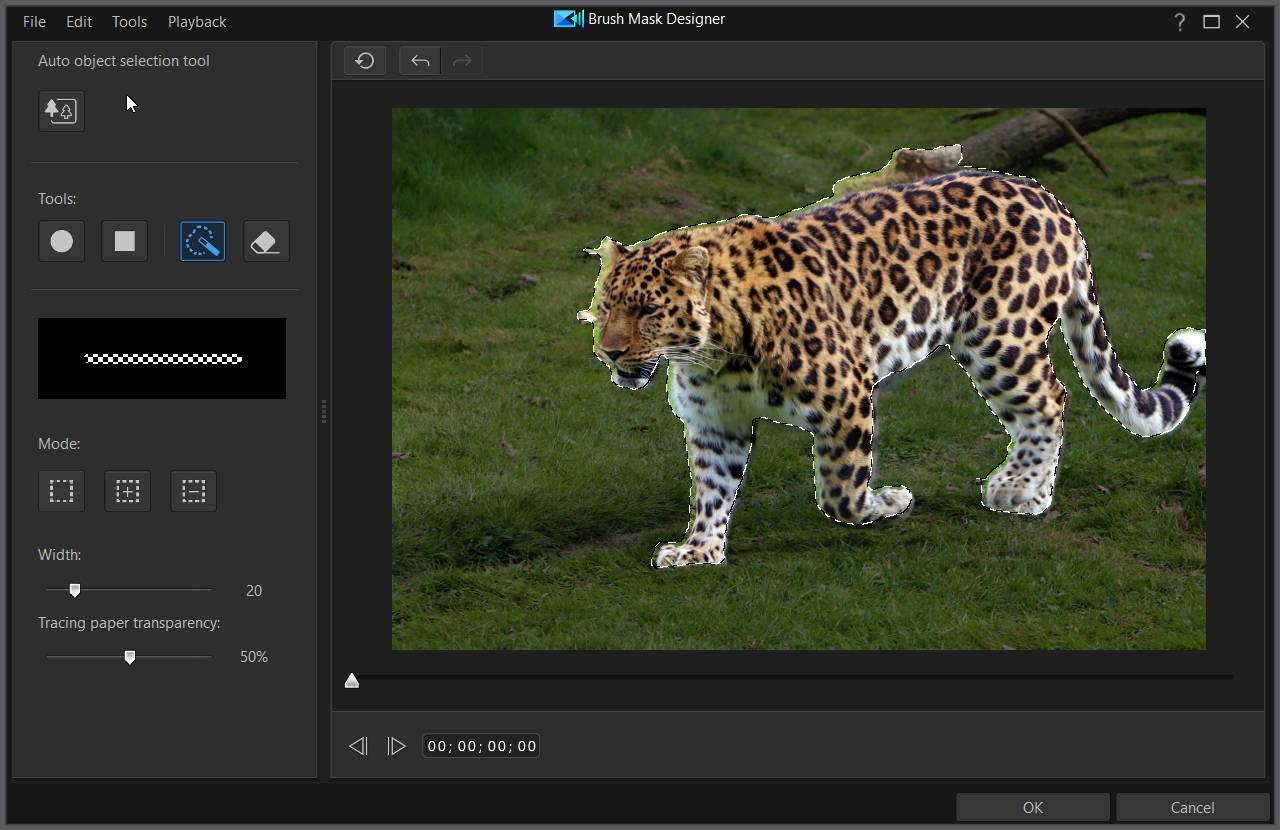
5.If required, use the brush tools to fine tune the mask as required. See the steps in Manually Creating a Mask Using the Available Brush Tools for more details on using them.
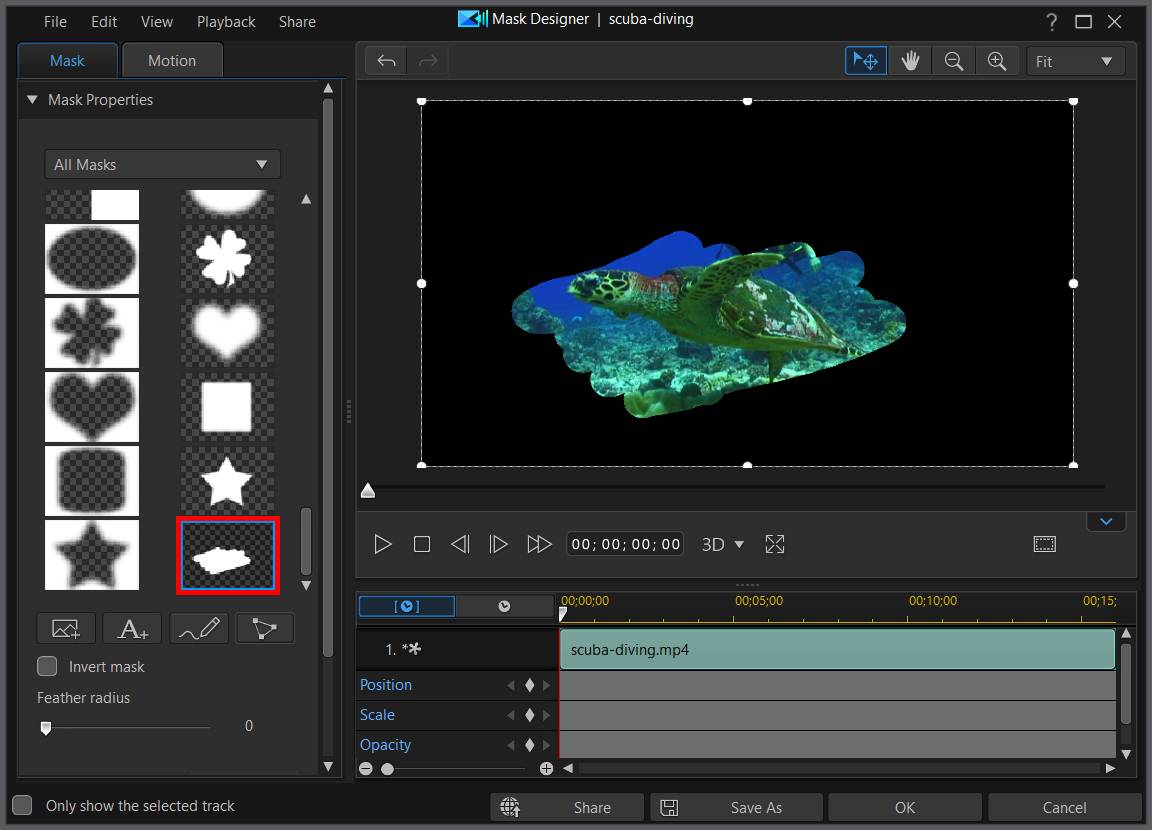
6.When you are done creating your custom brushed mask, click OK to close the Brush Mask Designer. Your changes will be saved and the new mask will be available in Mask Properties of the Mask Designer.
Note: you can modify the mask further by right clicking on it and then selecting Modify. |
7.When you are done customizing your mask in the Mask Designer, click the OK button to save your changes. Your changes are applied to the selected media clip and updated on the video timeline. If you want to edit the mask further, just reselect the media clip on the timeline and then reenter the Mask Designer by selecting Tools > Mask Designer.
Manually Creating a Mask Using the Available Brush Tools
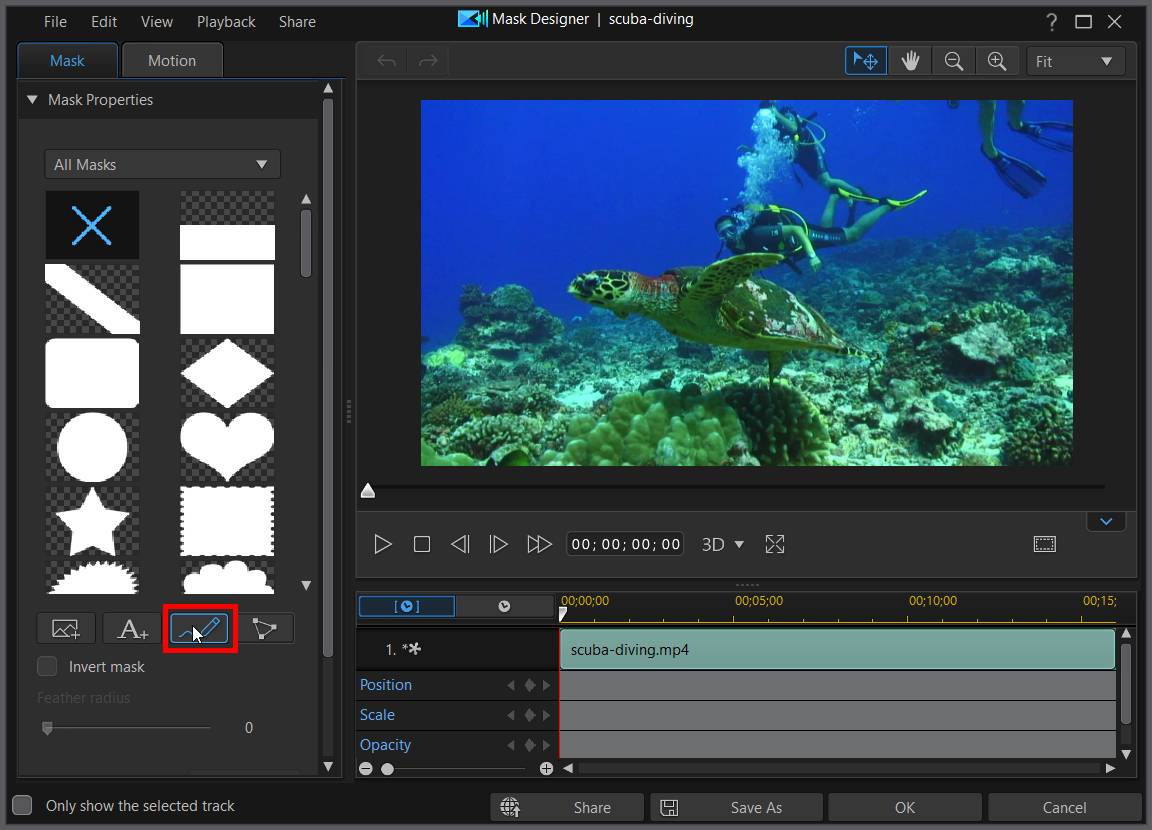
You can use the brush tools to manually create a mask on both an image and a video. To manually create a mask, do this:
1.Select a media clip on the timeline and then select Tools > Mask Designer.
2.Click on the button in the Mask Properties section of the Mask tab.
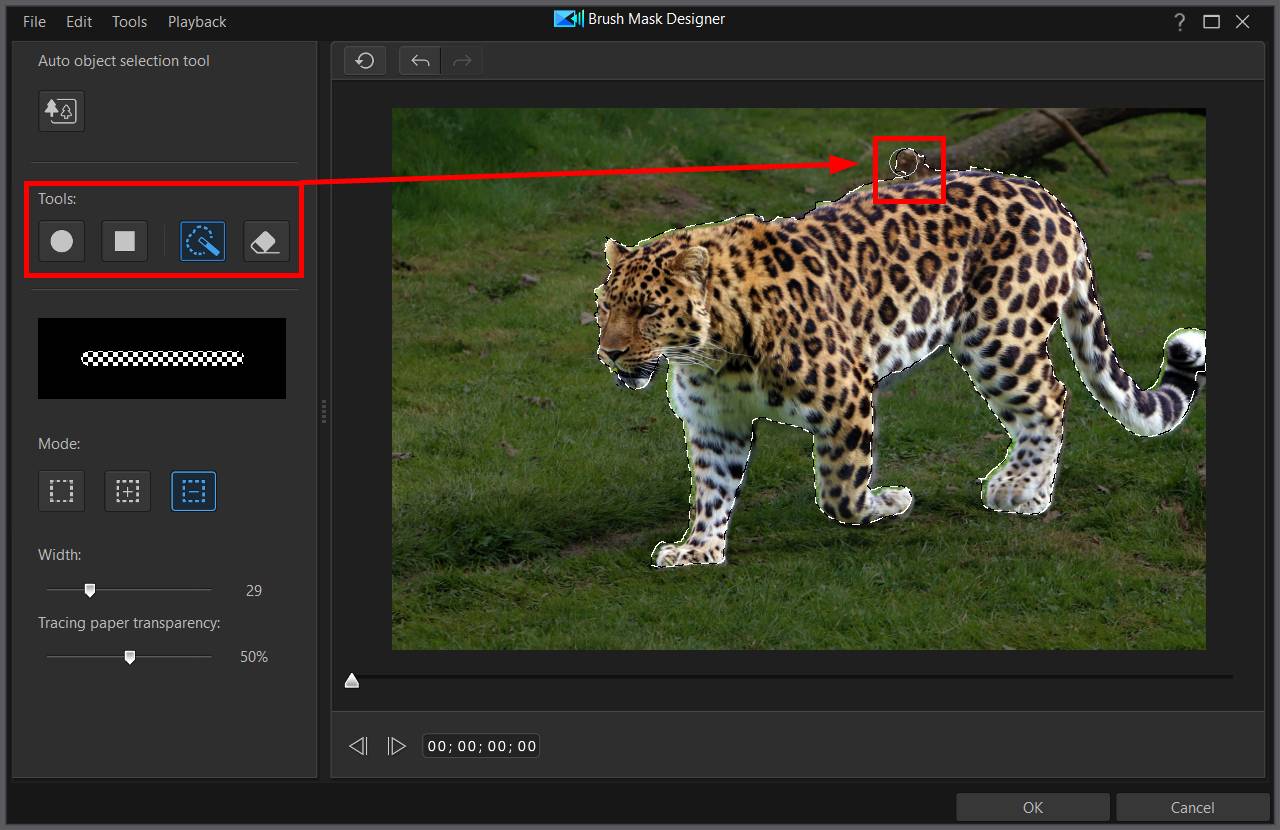
3.In the Brush Mask Designer, select one of the following tools to brush the custom mask:
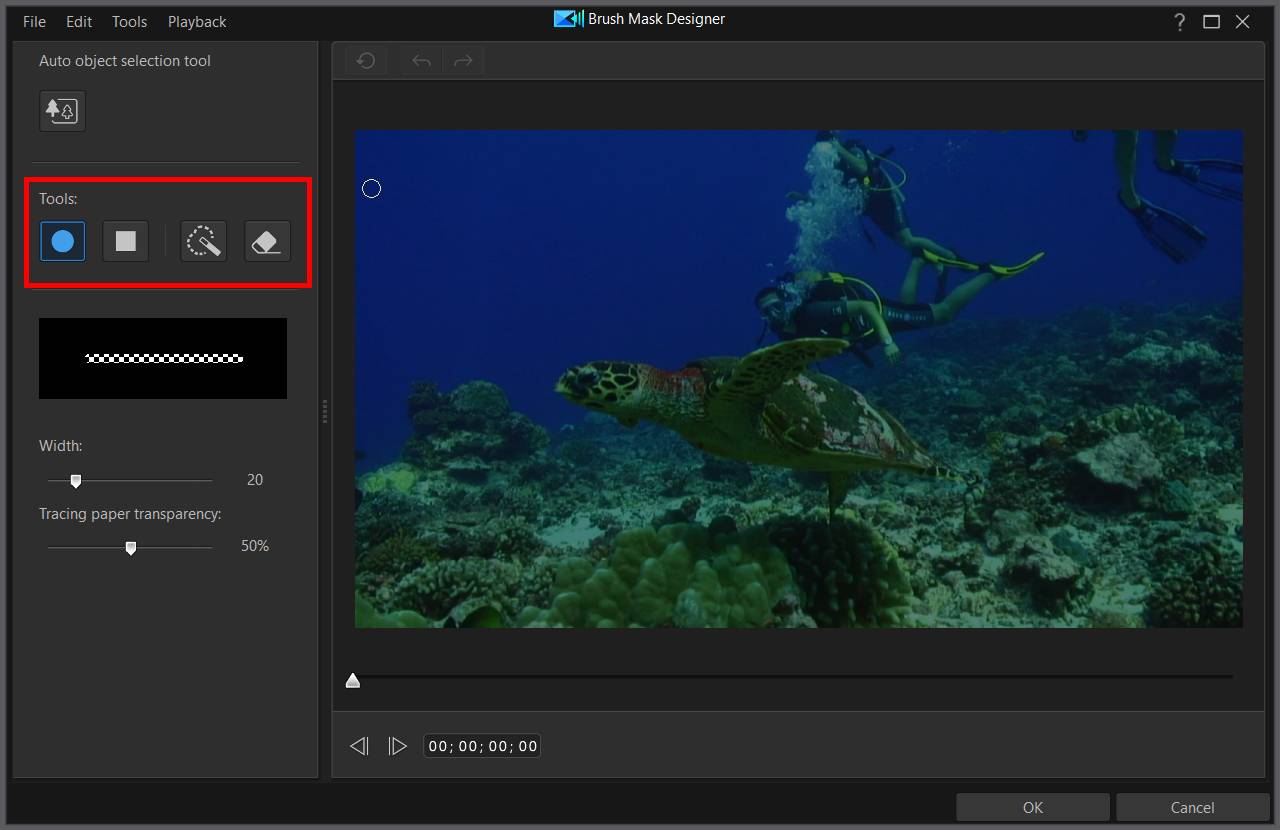
• - draws a rounded line on the mask to reveal the background image/video. Use the Width slider to set the thickness of the brushed line.
• - draws a square shaped line on the mask to reveal the background image/video. Use the Width slider to set the thickness of the brushed line.
• - the smart brush* allows you to click on an area in the mask window with this brush to auto select similar pixels. Use the Width slider to set the thickness of the selection brush, and then choose the Mode you want to use to make the selection:
Note: * this feature is currently only available in the subscription version of CyberLink PowerDirector, and requires Windows 10 and a CPU that supports the AVX2 instruction set. See this FAQ for detailed requirement information. |
• - enable this mode if you want to make a new selection. Enabling this option will deselect any current selected pixels.
• - use this selection mode to add to any existing selections, or if you want to select more than one area for the mask.
• - use this selection mode to deselect some of the selected pixels.
• - erases drawn lines on the mask to cover the background image/video. Use the Width slider to set the thickness of the eraser.
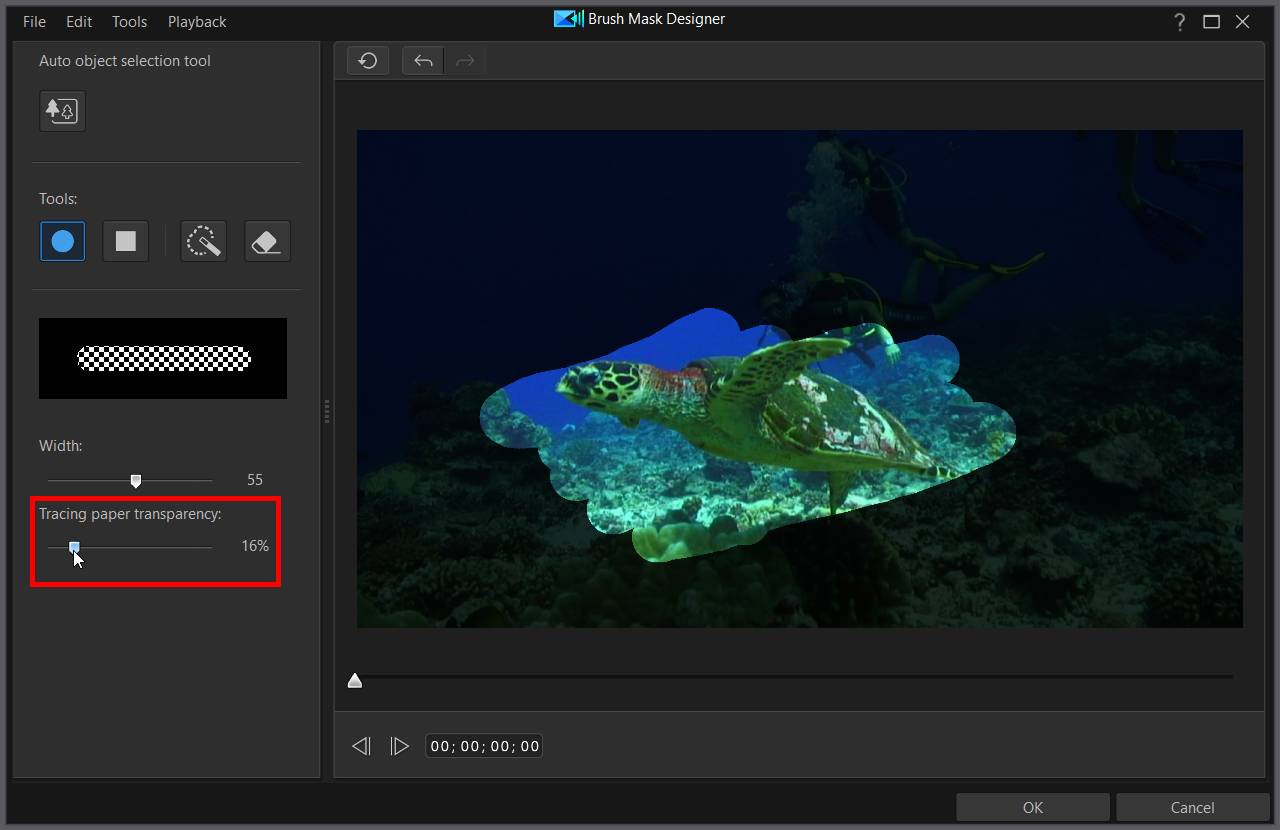
4.As required, brush on the preview window to remove the masked areas, i.e. make it transparent.
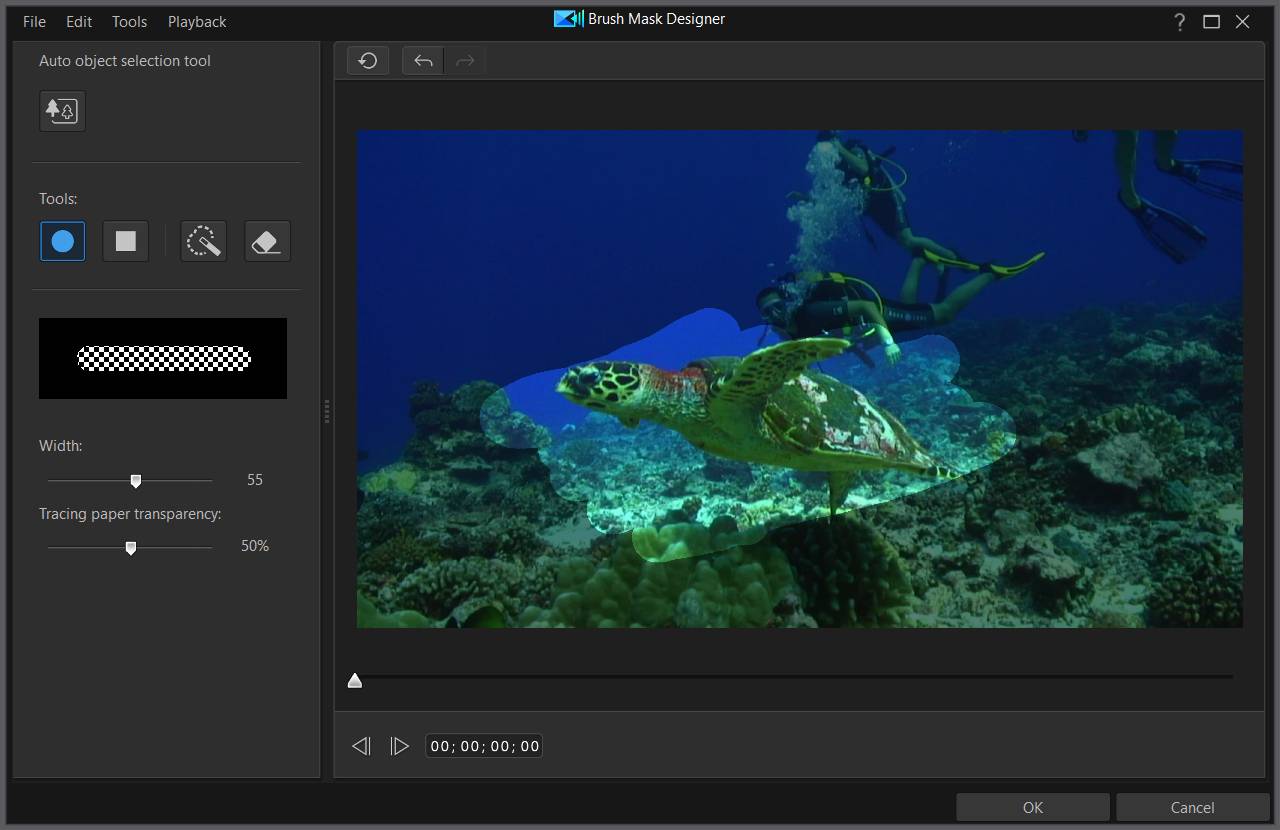
5.If required, you can adjust the transparency of the tracing paper applied over the background video. The tracing paper is there to assist you while brushing if you need it.
6.When you are done creating your custom brushed mask, click OK to close the Brush Mask Designer. Your changes will be saved and the new mask will be available in Mask Properties of the Mask Designer.
Note: you can modify the mask further by right clicking on it and then selecting Modify. |
7.When you are done customizing your mask in the Mask Designer, click the OK button to save your changes. Your changes are applied to the selected media clip and updated on the video timeline. If you want to edit the mask further, just reselect the media clip on the timeline and then reenter the Mask Designer by selecting Tools > Mask Designer.