CyberLink PowerDirector Help
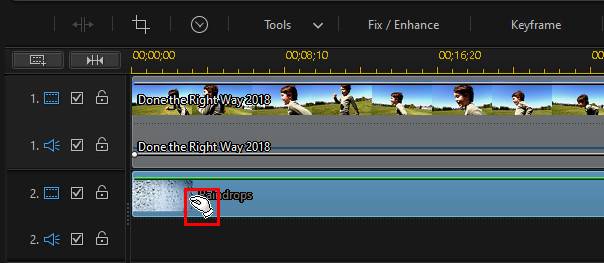
You can blend any video or image clip on a timeline track, with the media that displays above it in the timeline. Doing this blends the pixels in the media clips together, creating a unique overlay effect in your video production. To blend clips on the timeline, do this:
1.Select a clip on a lower track in the timeline.

2.Select Tools > Blending Mode.
3.Select one of the available blending modes to specify how the selected media clip is blended with the clip above it in the timeline (below it in the video production). There are eight blending modes to choose from, with each having a different effect. Below is a general description of each blending mode, but you can also select each of them to see a preview of it applied on the selected clip in the preview window:
•Normal: Normal is the default blending mode and does not mix the pixel colors in the selected image preset with the pixels in the selected media clip. The pixels in the selected image preset are placed over the pixels in the media clips, and are not blended.
•Darken: the Darken blending mode retains the darkest pixels of all the media clips being blended.
•Multiply: Multiply blending mode retains the darkest pixel colors of the selected image preset, and removes the lightest pixels by making them transparent.
•Lighten: the Lighten blending mode retains the lightest pixel colors of all the media clips being blended.
•Screen: Screen blending mode is the opposite of Multiply, as the brightest pixels are retained, with the darkest pixels effectively becoming transparent.
•Overlay: Overlay combines the effects of the Multiply and Screen blending modes. When blending the media clips, for darker pixels it blends like Multiply. For lighter pixels, it blends like Screen.
•Difference: Difference subtracts the brightest pixel color value from the pixel colors in the selected media clips. The resulting effect is similar to the look of a film negative, but is more colorful.
•Hue: use the Hue blending mode to blend just the hue from the selected image preset's pixels with the lightness and saturation of the below media clip's pixels.
4.Click OK to blend the two clips together to create the effect.