CyberLink PowerDirector Help
CyberLink PowerDirector projects (.pds files) you worked on and saved previously can be imported and then directly inserted into your video production's timeline as either a nested or expanded project. Depending on the set insert project behavior, you can either insert projects as a nested project or an expanded project.
Inserting Nested Projects
Your previously saved projects can be imported as nested projects, allowing you more flexibility and to make edits without affecting the rest of your existing project.
To insert a nested project, do this:
1.Ensure your insert project behavior is set to As Nested Project in Editing preferences.
2.While working on an existing PowerDirector project, click  to enter the Projects Room.

3.Select the saved project in your library that you want to import as a nested project.

4.Drag it to the position in your project's timeline where you want it to be located.

Note: you can also select File > Insert Project to import a project at the current timeline slider position. |
5.Now you can click on the nested project's tab to perform edits on it so it fits your current project.
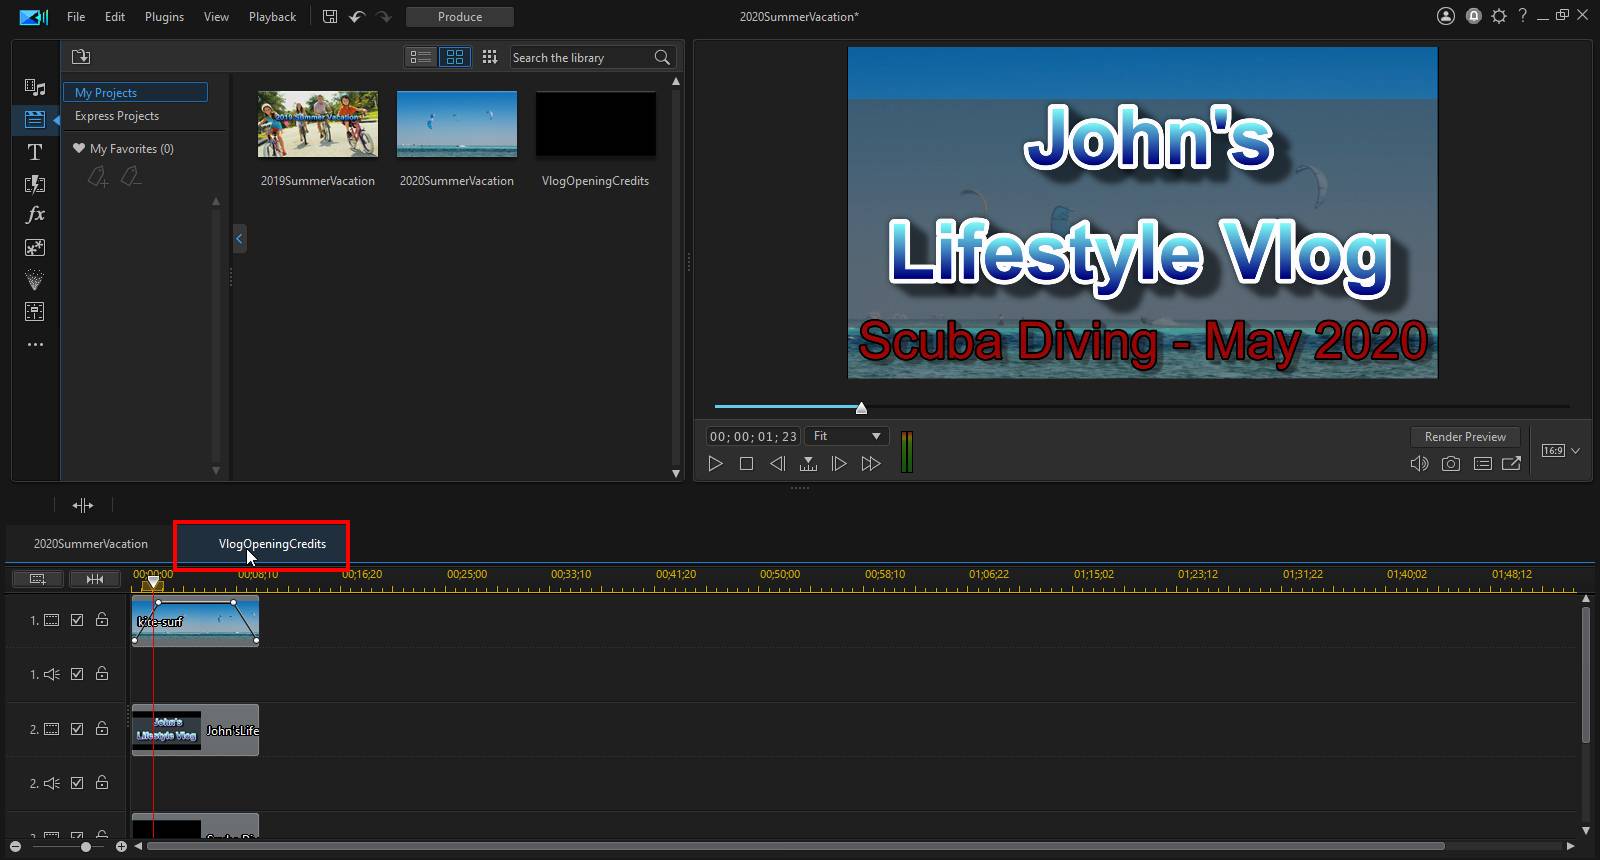

6.Click back on your current project's tab to continue editing.

Inserting Expanded Projects
Your previously saved projects can be imported as expanded projects, which imports a project's media files, effects, transitions, etc. directly in the timeline.
To insert an expanded project, do this:
1.Ensure your insert project behavior is set to As Expanded Project in Editing preferences.
2.While working on an existing PowerDirector project, go to My Projects section of the media library.
3.Select the saved project in your library that you want to import as an expanded project.
4.Drag it to the position in your project's timeline where you want it to be located.
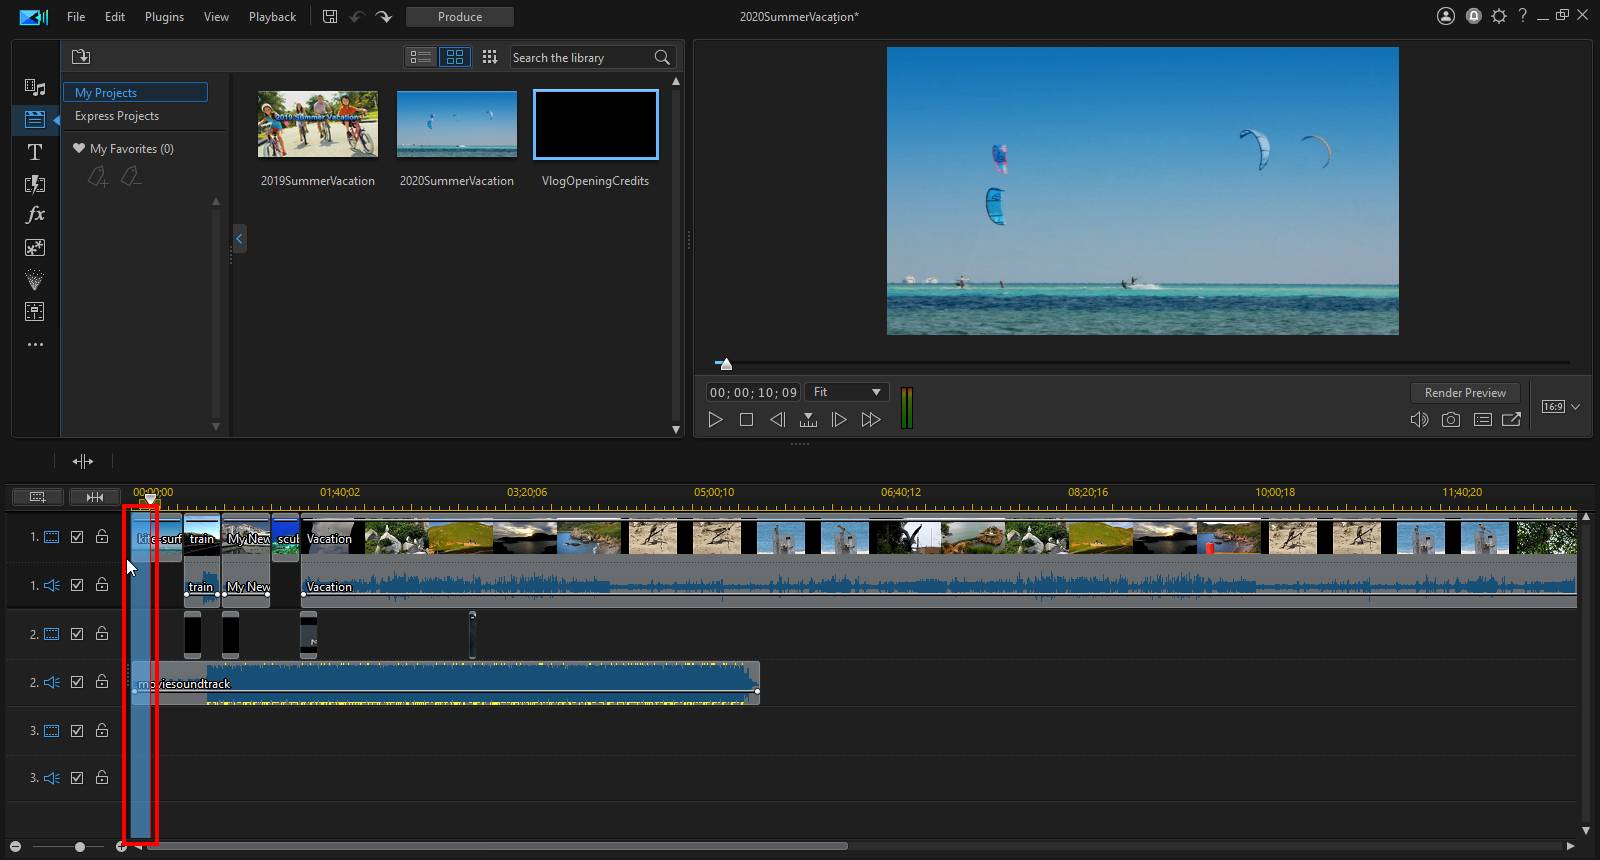

Note: you can also select File > Insert Project to import a project at the current timeline slider position. |