CyberLink PowerDirector Help
In the Properties tab of the Transition Designer you can customize the alpha transition's properties. See the following sections for detailed information on the properties you can modify on this tab.
•Customizing the Shift Progression
Alpha Transition Overview
Alpha transitions use an image's properties to perform the transition, i.e. shift from one clip to another when used in your video production.
The image in the Transition Designer is converted to gray scale for use in the alpha transition. By default, the areas that are blackest are the areas that are revealed (transitioned) first, followed by the grays, and then the whitest areas. In the example below, the center of the heart is black, so the B is revealed in that area first.
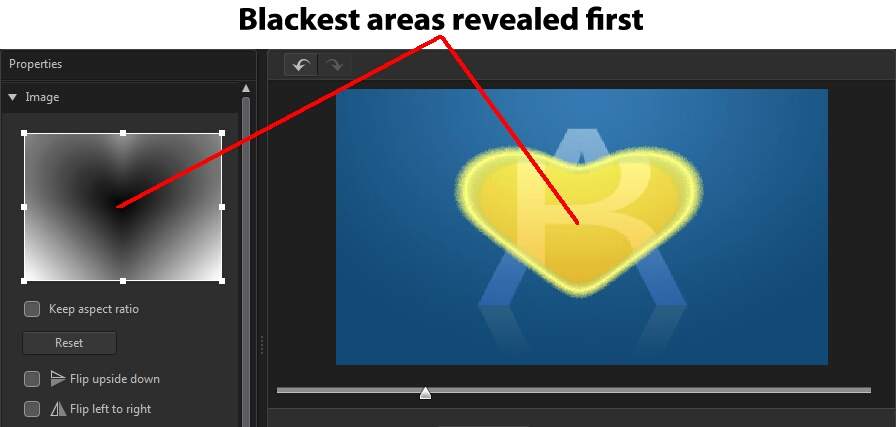
Note: you can invert the transition area so that the whitest areas are revealed first. See Inverting Transition Area for more information. |
While the whitest outside areas are the last parts to be revealed.
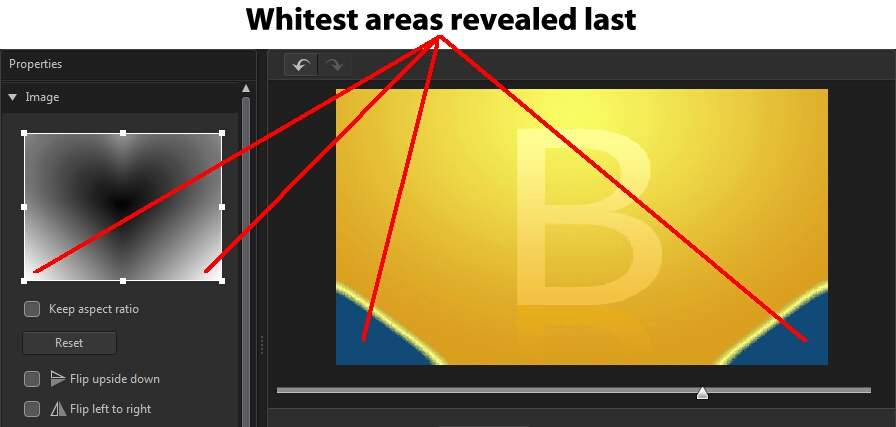
Note: you can fully customize the progression of the shift (from A to B) in the alpha transition. See Customizing the Shift Progression for more information. |
Changing Image Properties
In the Image section of the Transition Designer you can change some of the properties for the image used in the alpha transition. If required, change the position of the focus area in the Image preview, or the area of the image that will be used in the alpha transition.
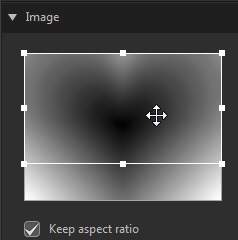
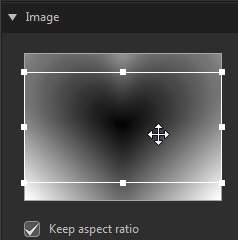
Deselect the Keep aspect ratio option if you want more control on the shape of the focus area. Note that the aspect ratio of the focus area matches your current project's aspect ratio.
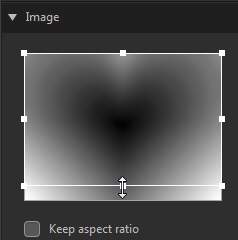
Select the Flip upside down option if you want to flip the image vertically, or Flip left to right if you want to flip it horizontally.
Applying a Border
You can apply a color border on the edge of the transition line. To do this, select the Border option and then set the level of Opacity on the border to adjust its appearance.
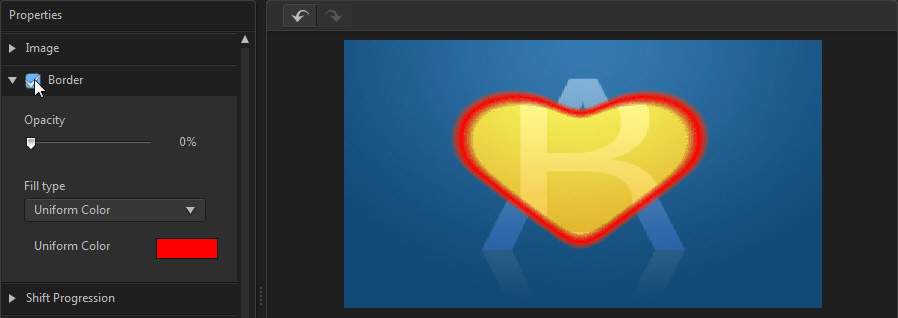
Selecting Border Color
When selecting the color of the border, you have the following options in the Fill type drop-down:
•Uniform color: select this option if you want the border to be one solid color. Click the colored square to open the color palette and select the desired border color.
•2 color gradient: select this option if you want the border color to change from one color to another using a gradient. Click the colored squares to set the beginning and ending colors.
Customizing the Shift Progression
In this section you can customize the shift progression of the alpha transition, or how it transitions from one clip to another when used in your video production.
Shift Progression Timeline
The shift progression timeline is a graphical representation of how the transition progresses, i.e. how the alpha transition shifts from the A to the B as shown in the below example.
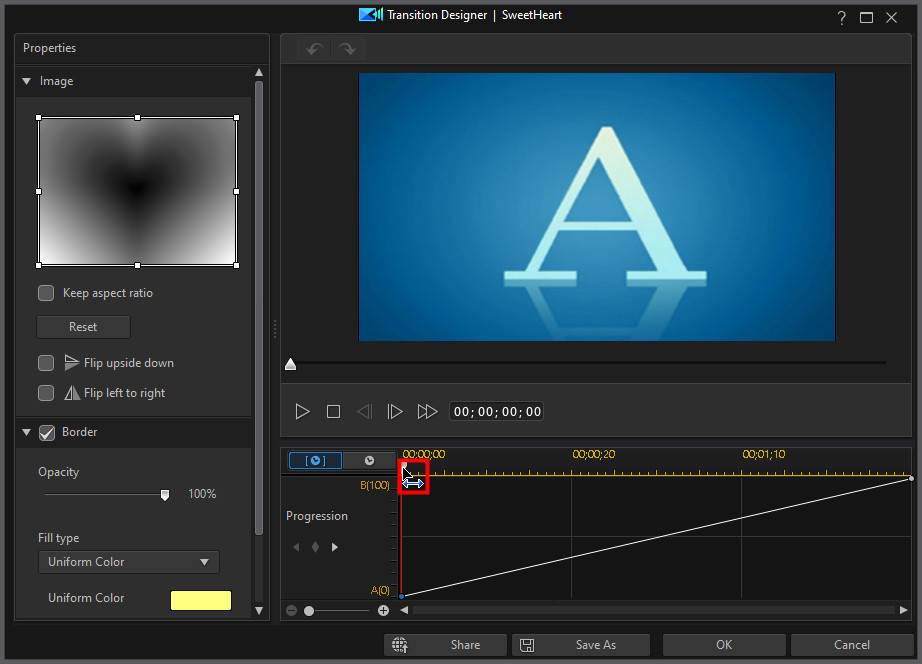
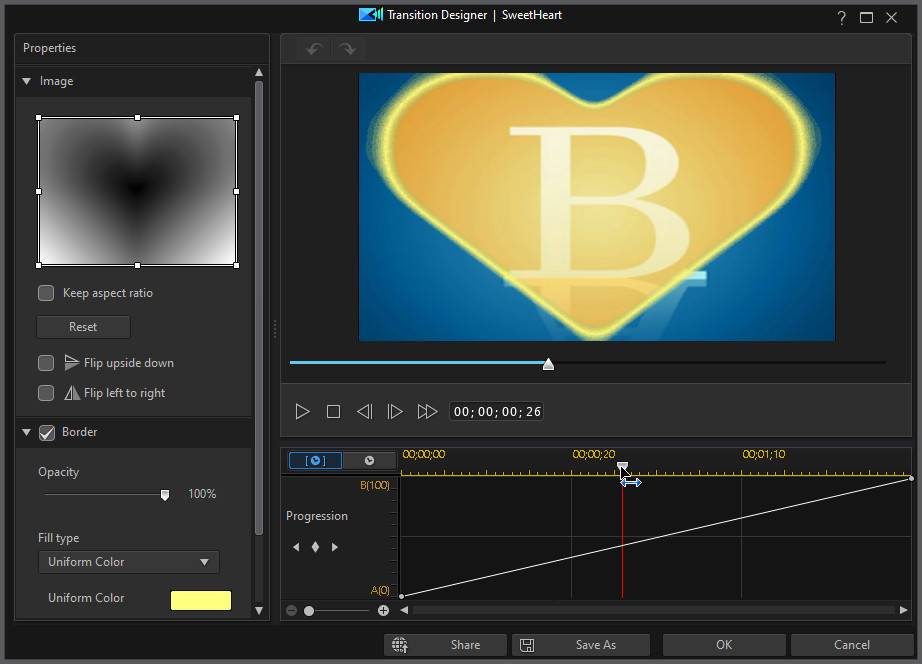
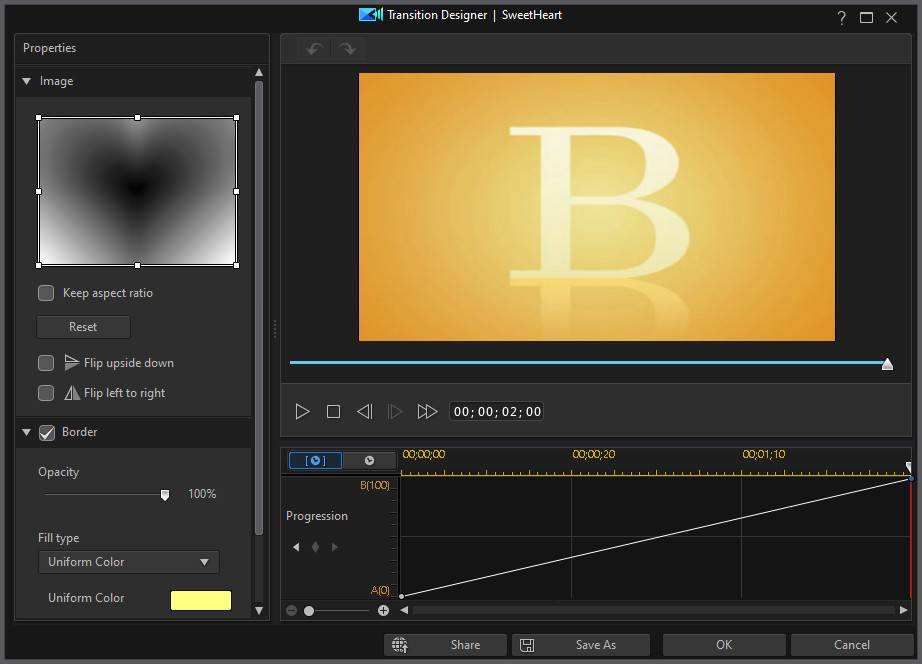
The timeline along the top is the keyframe timeline and is generated for the alpha transition when you open it in the Transition Designer. In the below example, because the transition duration is two seconds long (by default in the transition library), the keyframe timeline is also two seconds. If you increased the duration of the transition in the timeline to five seconds, the keyframe timeline would then be five seconds long.

If alpha transition you are editing is on the timeline, click the  button to view the video timeline.

The scale to the left represents the progression from the A to the B, and the line shows the progress.

You can modify the shift progression as required, by changing the beginning and ending points, or adding keyframes to precisely customize the shift progression, or transition from one clip to another when used in your production.

Adding Keyframes
To add a keyframe to the keyframe timeline, do this:
1.Use the player controls to find the moment in the transition where you want the progression to shift.
2.Click  in the Shift Progression section to add a keyframe to the progression line.

3.If required, use the Shift slider to change the progression position of the line.

In this above example, the transition will now shift 75% from A to B in the first second of the transition, and then progress the final 25% in the last second.
4.Repeat these steps to customize the shift progression as required using keyframes.
Removing Keyframes
To remove a keyframe, drag the timeline slider over it so that it is highlighted and then click  .
.
Inverting Transition Area
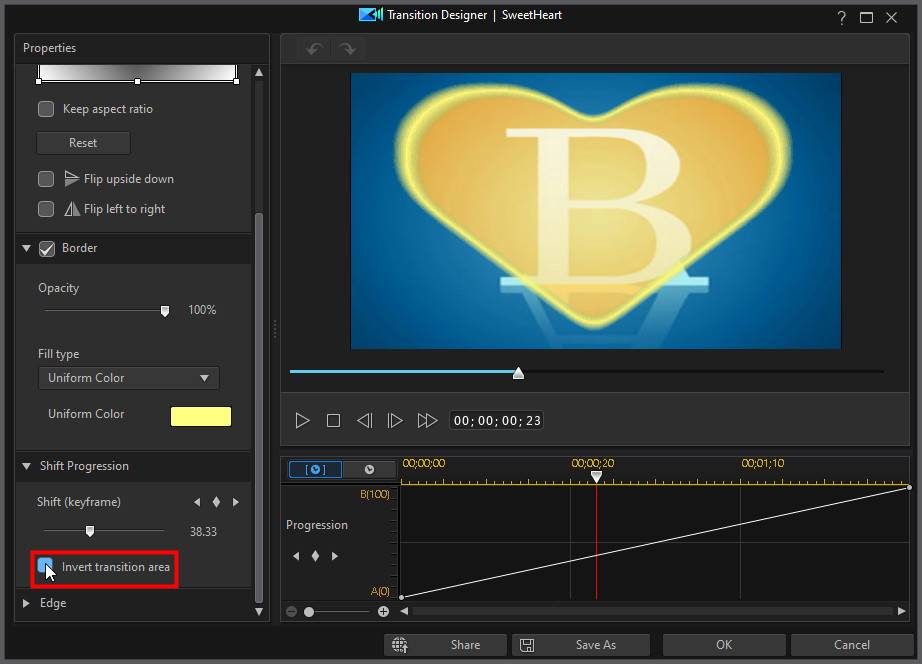
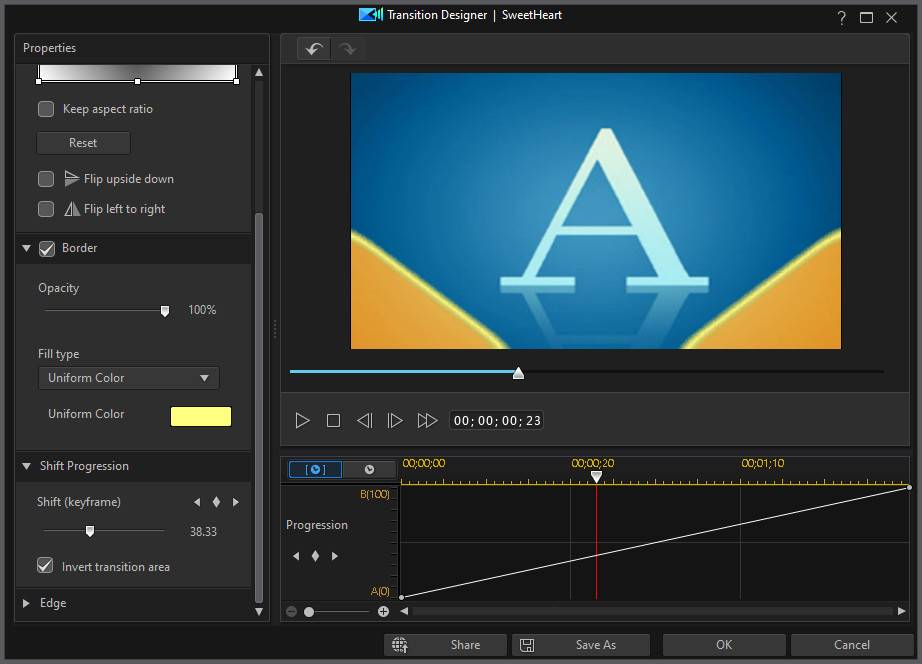
Select the Invert transition area option if you want the whitest areas of the alpha transition image to transition first, followed by the grays, and then the blackest areas.
Setting Edge Sharpness
In the Edge section, use the slider to set the sharpness of the transition line by adjusting its gradient level. Dragging it left will make it sharper,

while dragging it right will make it softer or more blurry.
