CyberLink PowerDirector Help
Use keyframes when modifying your masks to define the start and end points of the customized effects. In the Mask Designer you can use keyframes to change the mask's position, size (mask scale), opacity, rotation, and motion.
Keyframe Timeline
A custom keyframe timeline is generated for each mask when you open it in the Mask Designer. In the below example, because the selected media clip is 10 seconds long on the project timeline, the keyframe timeline is also 10 seconds.
Note: if you cannot find the keyframe timeline in the Mask Designer, just click the |
 button under the preview window to display it.
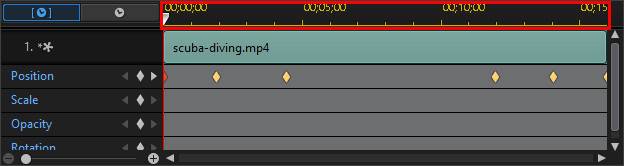
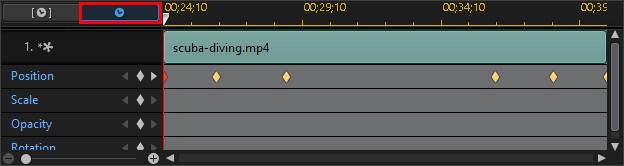
If you'd like to view the video timeline, click the  button.
The keyframe timeline lets you precisely place each keyframe, so you can time the applied effect in your video production.
Adding Keyframes
To add a keyframe to the keyframe timeline, do this:
Note: if you cannot find the keyframe timeline in the Mask Designer, just click the |
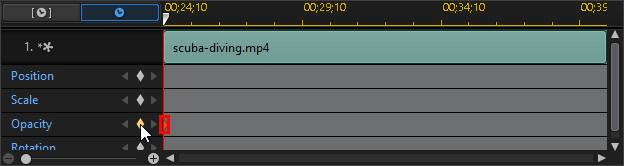
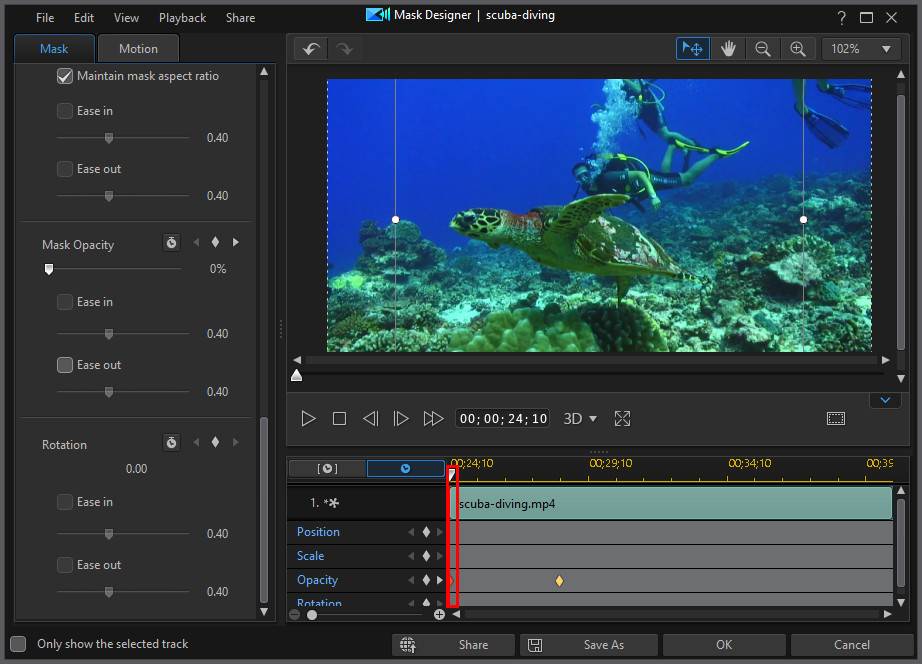
1.Use the player controls to find the moment in your media clip where you want the mask's properties to change.
2.Click  next to the property you want to change to add a keyframe to the corresponding keyframe track.
3.Use the features in the Mask Designer to modify the properties of the effect as required for this keyframe. In this example we are modifying the opacity of the mask at the beginning of the media clip.
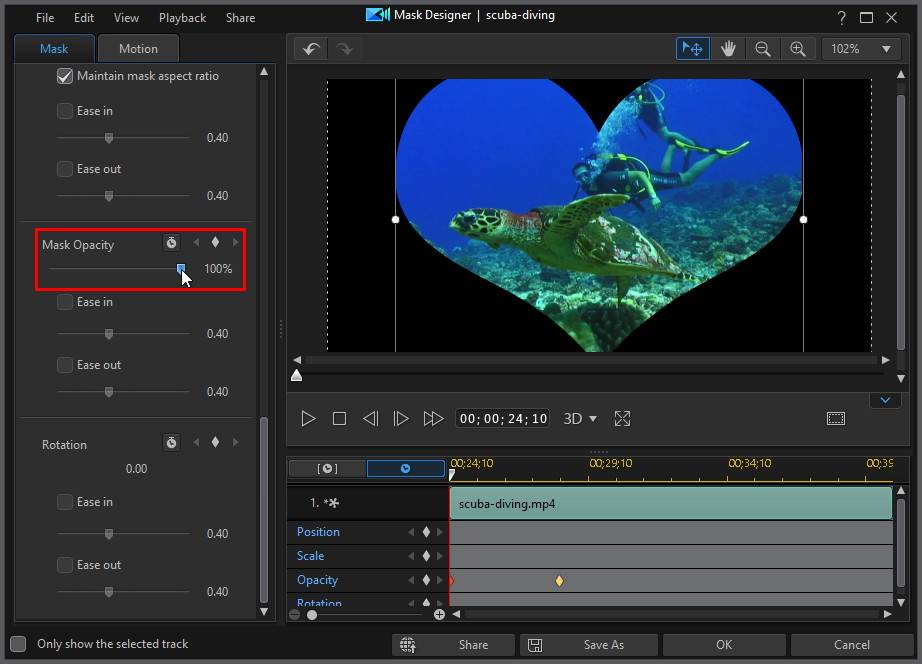

Note: notice above that when opacity is changed, a keyframe is automatically added at the current timeline slider position. |
When previewed, at the first keyframe the mask is the completely transparent, and then slowly gets more opaque until it reaches the specified opacity level by the time the playback slider reaches the second keyframe.
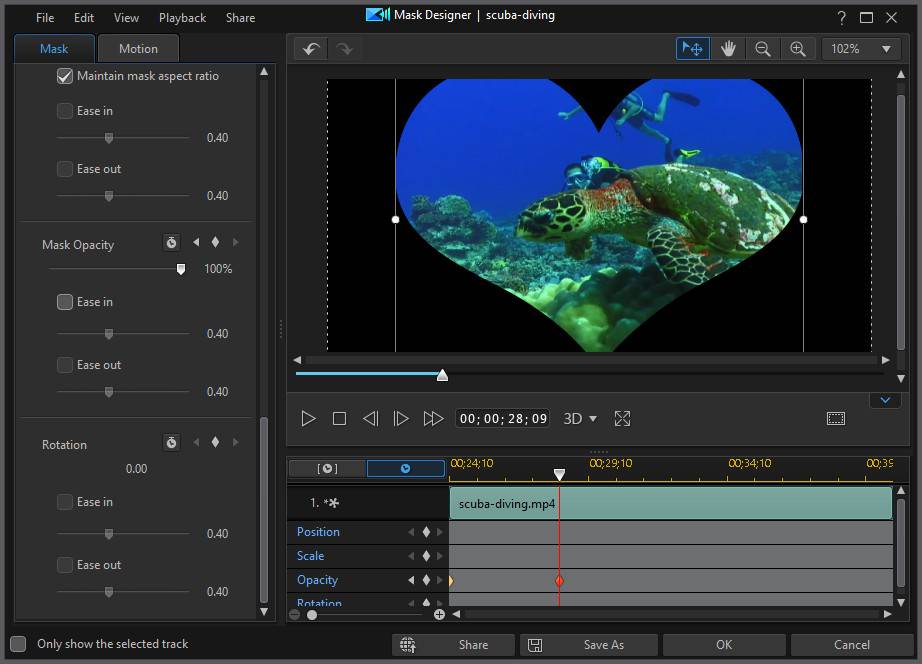
It will maintain this opacity until the playback slider reaches the last keyframe, unless you add more keyframes or change the properties of the last keyframe.
Note: you can also modify the properties of a keyframe by right clicking on it and selecting Duplicate Previous Keyframe or Duplicate Next Keyframe. Doing this copies the properties of the specified keyframe to the keyframe you right clicked on. |
4.Repeat these steps to create the kind of effect you want in your video production using keyframes to modify the mask's properties and motion.
Modifying and Removing Keyframes
At any time you can modify the keyframes added, by selecting it and changing the mask's properties, or by dragging the keyframe to another position on the keyframe timeline.
To remove a keyframe, select it on the keyframe timeline and then click .