CyberLink PowerDirector Help
In the Keyframe Settings window, there is a mini timeline for the selected media clip. The timeline matches the duration of the selected media clip.
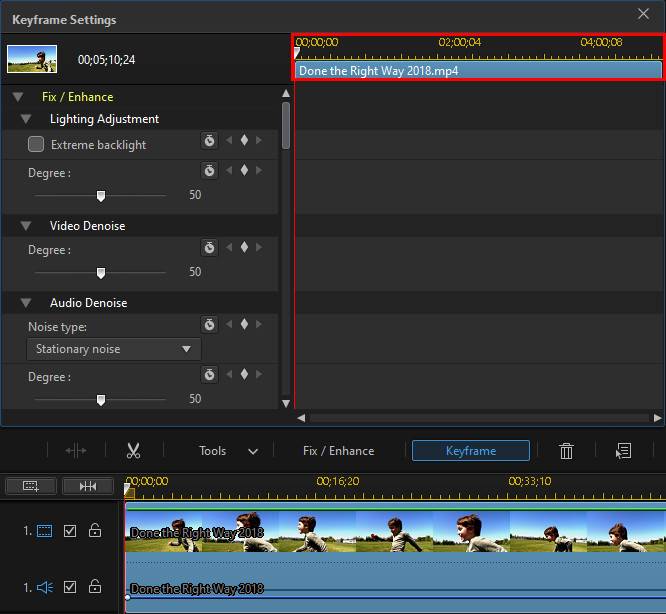
You can resize the timeline ruler and move the timeline slider, just like on the main timeline.
To add a keyframe to the keyframe timeline, do this:
Note: once you have customized the fixes, enhancements, and effects on a clip using keyframes, you can right click on the clip and select Copy Keyframe Attributes. This allows you to paste these keyframe attributes on another clip in the timeline, applying the same changes to the clip. |
1.Use the player controls to find the moment in your media clip where you want its properties to change.
2.In the panel on the left, use the slider or other options to change the clips properties as required. Note that a keyframe marker is added at that moment in timeline.

3.Use the player controls to find the next moment you want to add the next keyframe, and then modify the clip properties as required again.
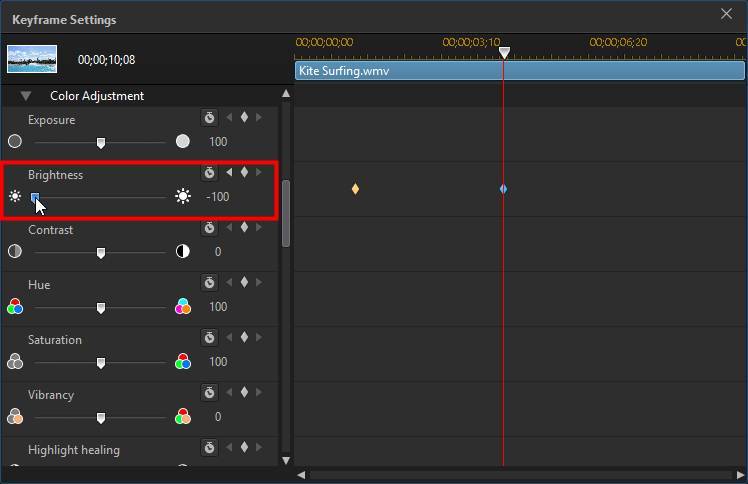
4.Repeat these steps to create the kind of effect you want in your video production using keyframes. In the above example, the brightness of the media clip will slowly dim between the two keyframe moments.
Modifying and Removing Keyframes
At any time you can modify the keyframes added, by selecting it and changing the clip's properties, or dragging it to another position on the timeline. To remove a keyframe, select it on the timeline and then click  .
.
Note: if you want to reset the changes made at a keyframe, just ensure the keyframe is selected and then |
